If you practice drawing, you’re going to get better and better.
You might as well start learning how to draw eyes today!
Remember, youre not a bad artist.
Daniella Urdinlaiz
You simply havent learned the proper techniques yet.
If you practice drawing, youre going to get better and better.
After all, you cant have abodywithout a head attached.

you gotta learn how to create eyes, mouths, and noses in the most realistic way possible.
Of course, that isnt easy.
Drawing eyes can be one of the hardest parts of the process.
How To Draw Eyes
Especially since there are two of them and it’s crucial that you confirm they match.
Grab a mechanical pencil, an eraser, and a sheet of paper.
Of course, the decision is up to you!
2.Set up your space.
Your drawing isnt going to come out right if you dont have enough space to work.
see to it you find a clean, flat area where you might place your paper.
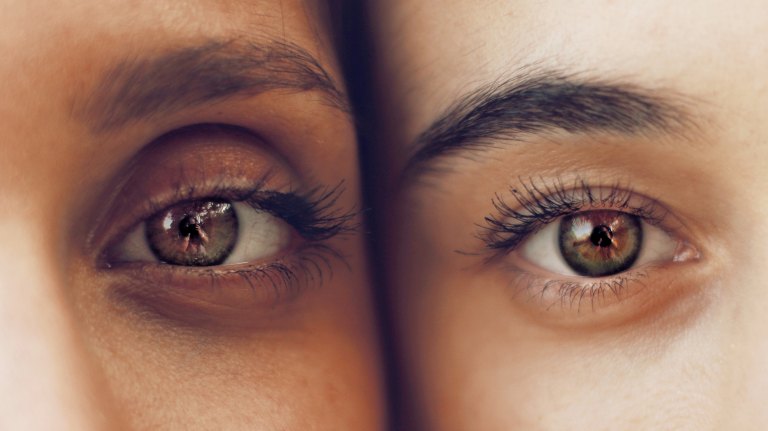
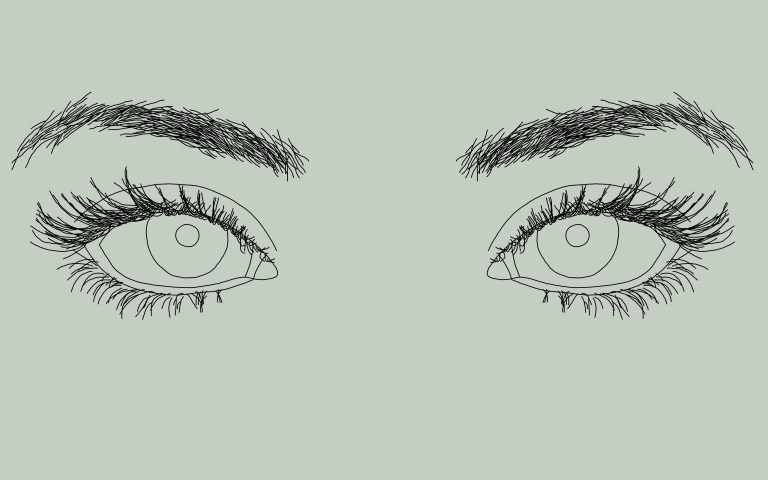
3.Look at a real set of eyes.
First off, lets look at a pair of actual, realistic eyes.
ensure you pick a photograph that captures the pop in of eyes youre hoping to draw.
After all, there are plenty of different eye shapes, colors, and sizes.
Once you find the perfect photograph, be sure to examine the shape and different parts closely.
Return to this reference photo whenever you move onto a new step in the drawing process.
That way, you could ensure youre creating the most realistic drawing possible.
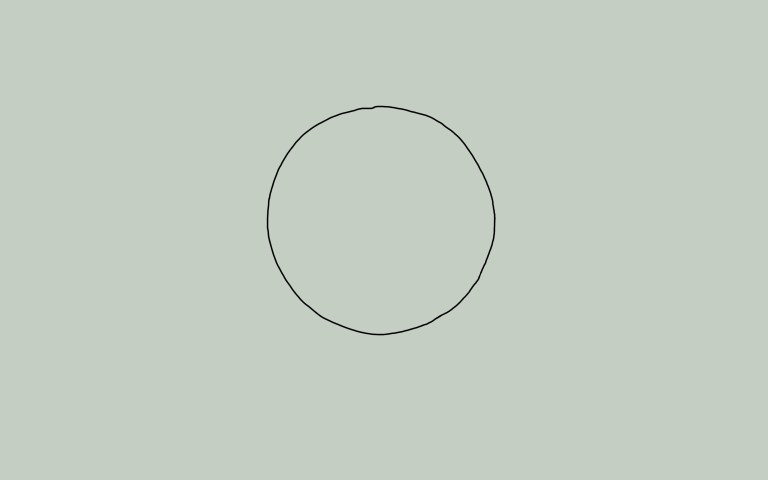
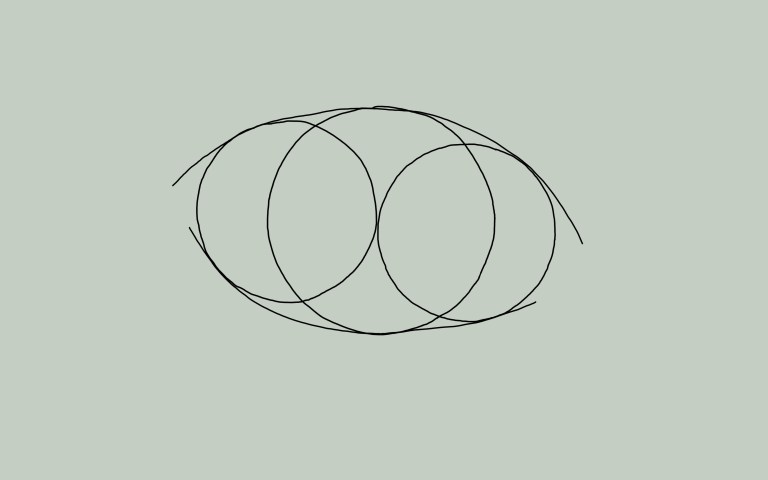
4.Start off with a circle.
A realistic eye drawing starts off with a circle, which isnt as simple as it seems!
Thats why its a great idea to practice your circles.
Youre going to need this basic shape for almost every drawing that you complete.
They might end up in the finished product, or they might simply be a reference point for you.
Either way, you want to check that youre able to draw a pretty perfect circle.
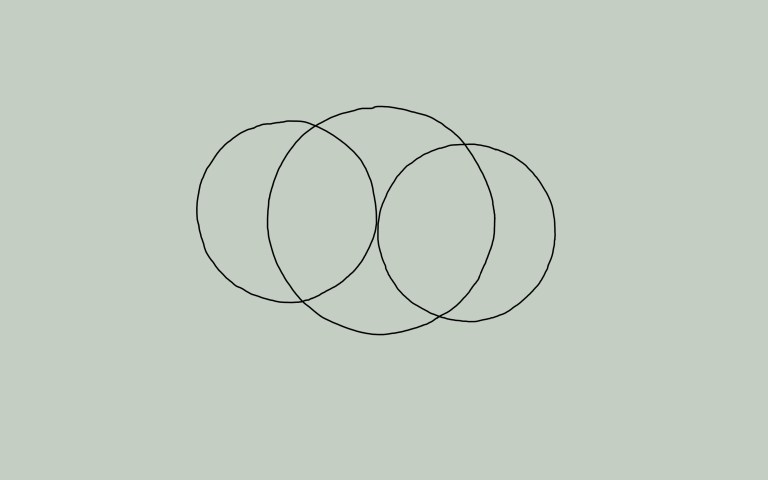
Add two smaller circles on the inside of the big circle.
One should be positioned on the left and one should be positioned on the right.
This should form something that looks like a Venn diagram.
Youre going to need to do some more drawing and some erasing.
Remember, not every line that you draw is going to remain in the picture until the end.
This is going to help form the eye shape.
This is the moment when you should see the picture coming together.
Unfortunately, youre going to have to get rid of some of your hard work soon.
But dont feel bad about using the eraser!
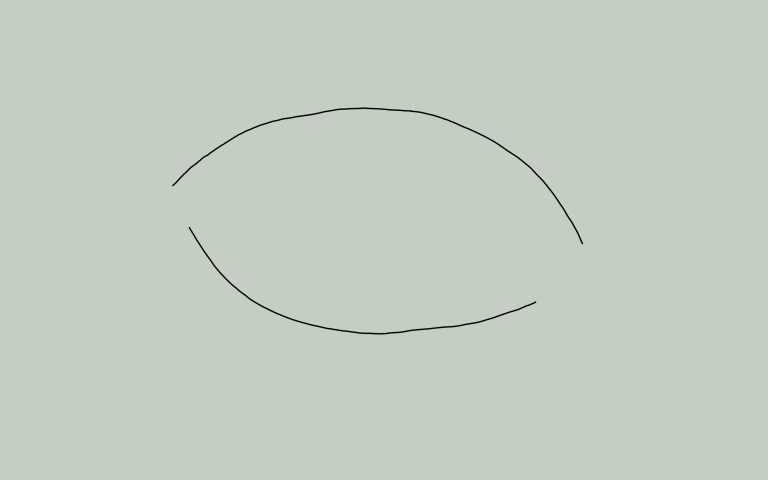
5.Now, get rid of those circles.
All that should remain are two curved lines.
You might think theyre going to turn into the eye, but youre wrong!
These lines are going to work as the brow bone and the underpart of the eye.
Were going to work on the actual eye in the next step!
Remember, it’s crucial that you be patient if you want to become a good artist.
You cant rush through the process.
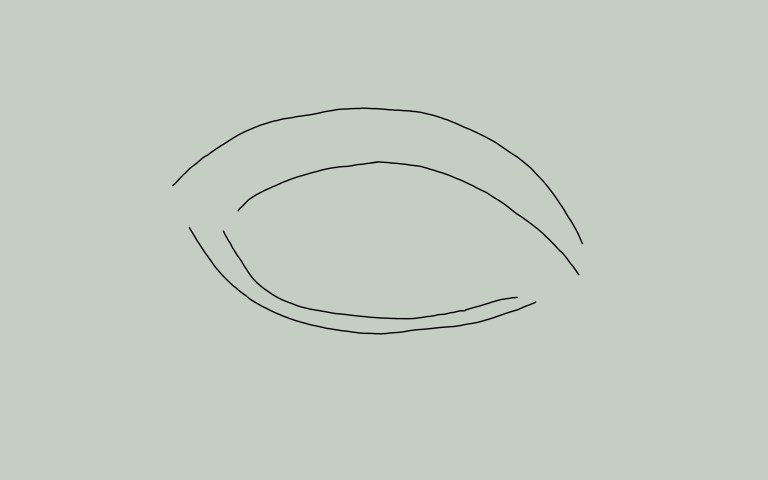
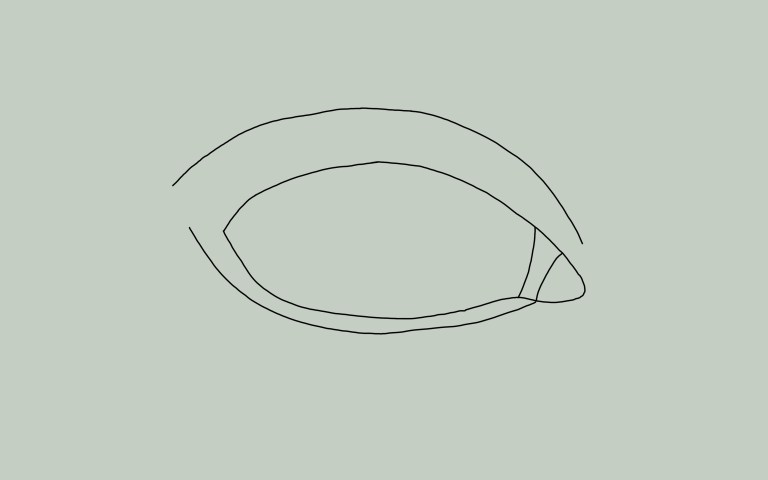
6.Draw two more curved lines.
Draw two more curved lines inside your first curved lines.
These should be slightly askew to the bottom corner.
Just double-check you dont shut the lines off to form a single shape.
They should remain as two separate lines for the time being.
But soon, these lines are going to form the top and bottom of your eye.
Its all coming together now!

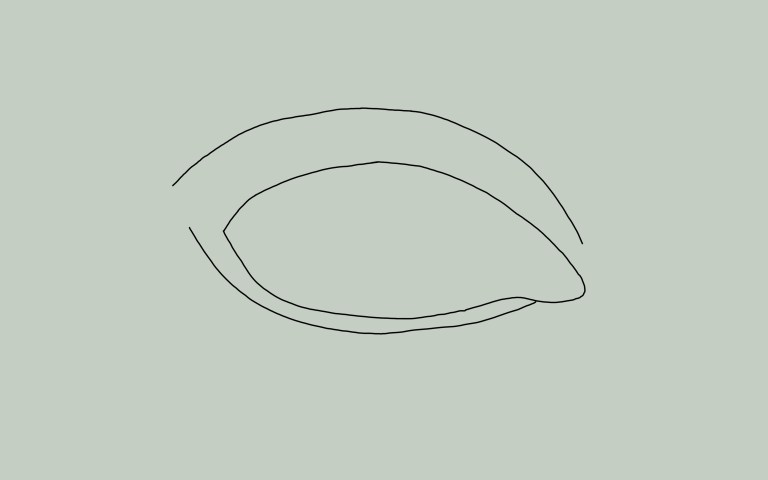
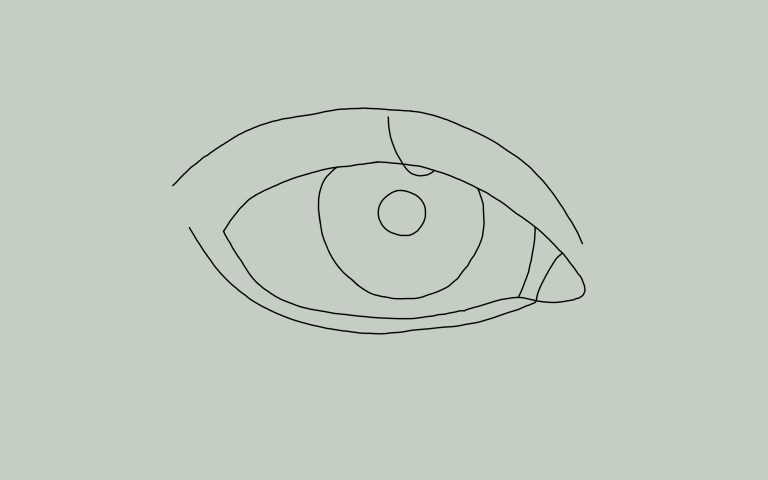
7.Close those interior lines.
Dont forget there will be a tear duct.
check that you draw that nice U-shape in the inner corner.
you’re able to also close off the outer corner.
However, double-check it ends in a point to make the drawing as realistic as possible.
Although it helps to know how to create perfectly straight lines and circles, real people are rarely perfect.
They arent always symmetrical.
8.Complete that tear duct.
You never know when youre going to need a good cry!
Thats why you’re gonna wanna add the tear ducts to your drawings.
Remember, if you want your drawing to be realistic, then you cant forget the tiny details.
The little things are what make your drawings feel real.
This is what will set you apart from other artists who rush through the process.
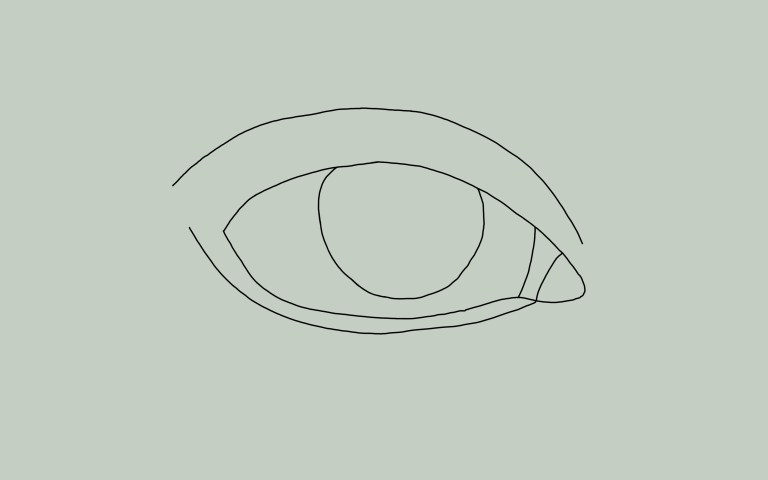
9.Now, draw that beautiful iris.
This is the part of the eye that has all the color.
This is a great time to check back with your reference photo.
It can give you some ideas on what colors to use.
You might even want to use more than one since eyes arent always one solid color!
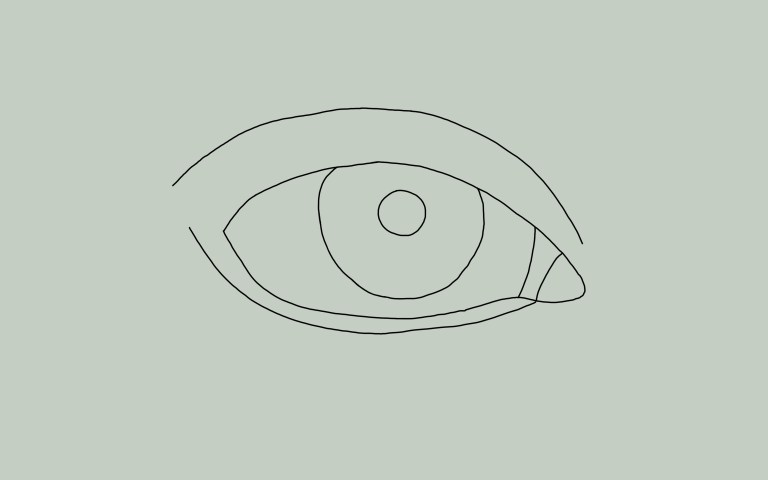
10.Next up is the pupil.
The pupil is the small circle inside your iris.
You should make it as dark as possible.

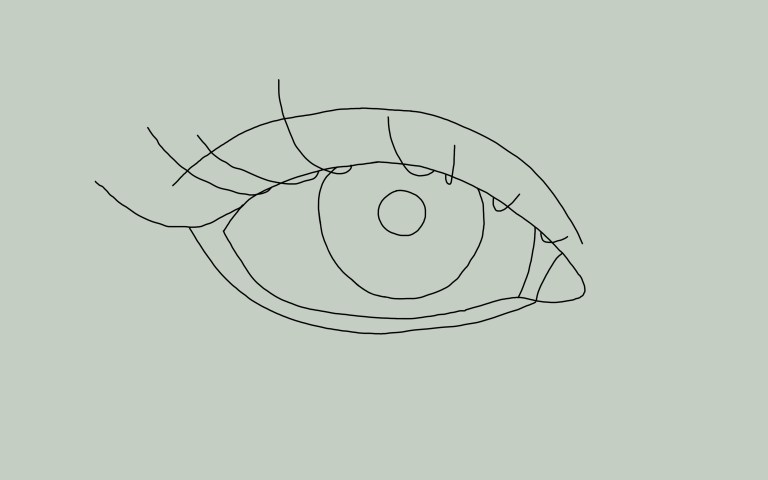
11.Move onto the eyelashes.
The hairs are swooping up from the lids in all different directions.
And if you look closely, each individual hair is gathered into small clusters around the eye.
12.Draw a curved line above the eye.
Moving forward, lets draw that first graceful and swooping eyelash.
Remember, you dont want to use straight lines for this part.
Lashes should be curved.
Although you might want them all to look exactly the same, its okay if theyre different sizes.
Real eyelashes dont all look the same.
That means they shouldnt all look exactly the same from your point of view.
13.Sparse out some individual hairs around the eye.
This helps to set up the framework and general angle of your eyelashes.
Just ensure you start with the upper eyelashes, then move onto the lower lashes.
This is the easiest way to complete the drawing.
Remember, you never want to focus on too many different aspects at once.
Take things one step at a time.
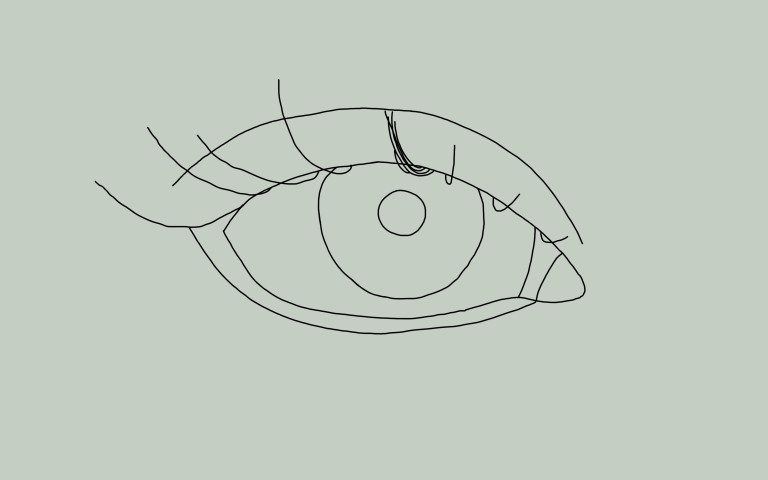
14.Work on making those eyelash clusters one by one.
you should probably be patient when youre drawing.
Although eyelashes might seem like a small detail, theyre an important part of your art.
Dont get impatient halfway through or you could ruin all the hard work youve done so far.
Take your time and dont rush yourself!
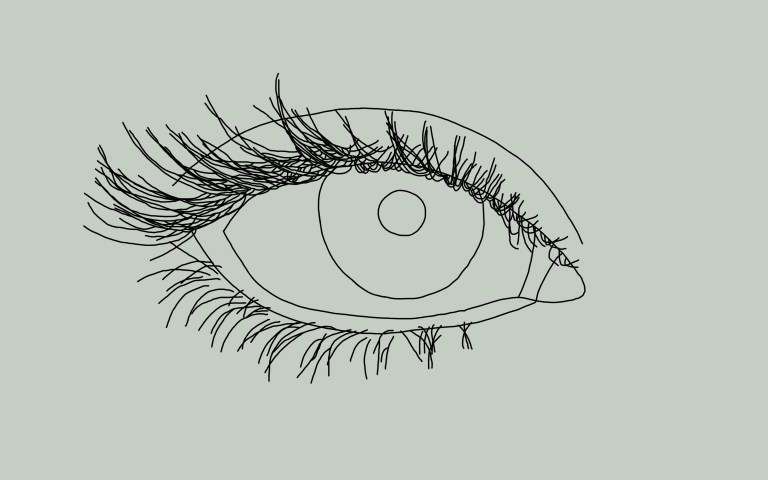
15.Finish the eyelashes.
As soon as you know it, youre done with those eyelashes at the top of your eye.
Even though the drawing isnt complete yet, those upper lashes give the picture a more realistic look.
This is great news if you want your art to look as close to life as possible.
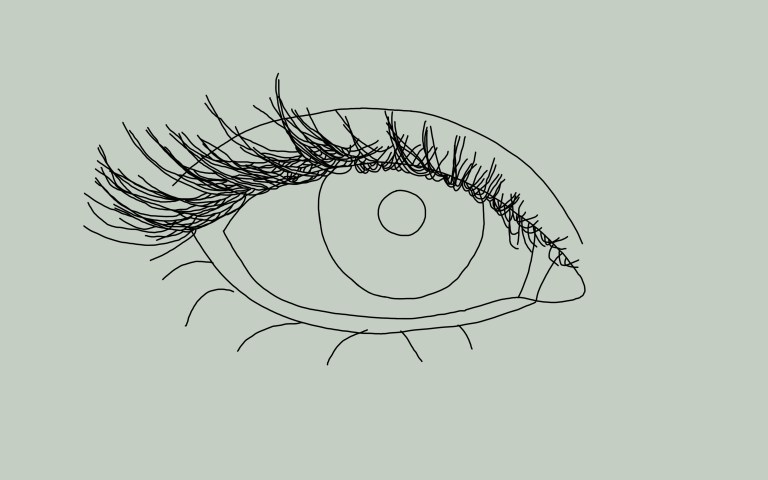
16.Now on to those bottom lashes.
Theres little to fear here as the bottom lashes are shorter and theres less of them.
So lay in that bottom lash framework.
Just confirm you dont use as many lashes as you used on the upper part of the eye.
17.Complete that cluster formation.
Even though its repetitive, you oughta continue making clusters beneath the lower eye.
Then you’ve got the option to move onto other features of the face that embellish the eyes.
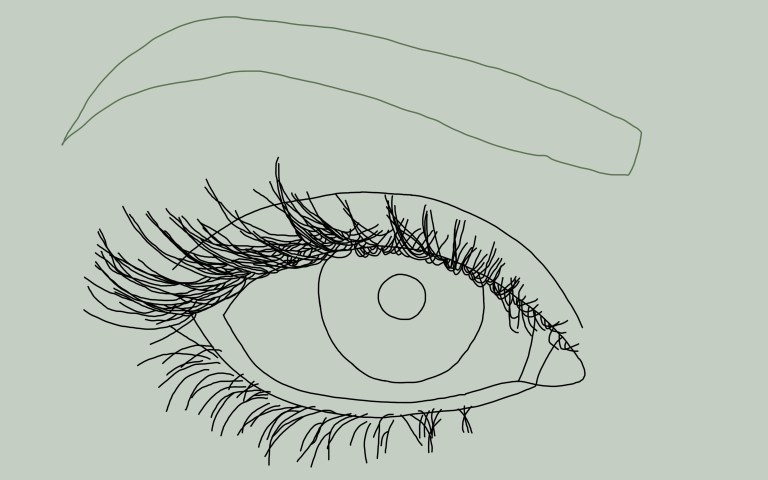
18.Work on the eyebrows.
Youre not out of the woods yet.
Now you have to draw eyebrows.
so that accomplish this, draw in the shape of your eyebrow on the brow bone.
This is directly above the eye socket.
Of course, there are a million different types of brows out there.
Some are thin and some are thick.
Some have high arches and some are flatter lines.
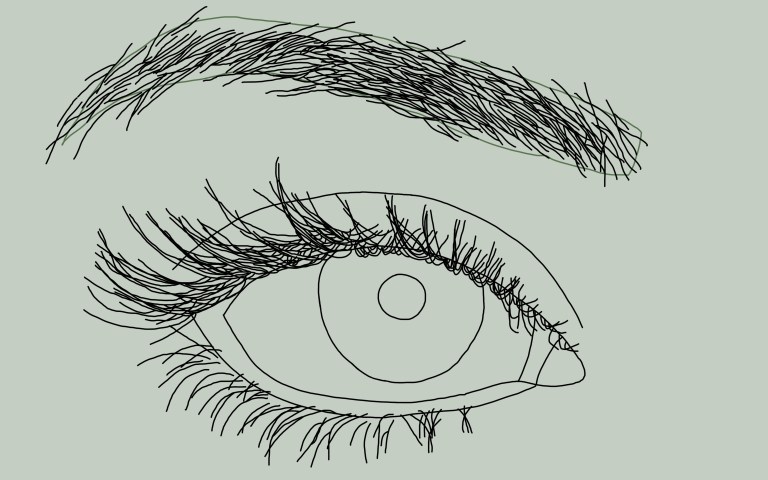
19.Draw in the individual hairs if youd like!
This will give more depth to your drawing.
All you should probably do is draw several darker lines to make the brows more realistic.
Again, remember to check your reference drawing.
In real life, eyebrows arent perfect.
Some hairs might fall out of place or be pointed in slightly different directions.
to make your drawing perfect, you might need to make your character imperfect.
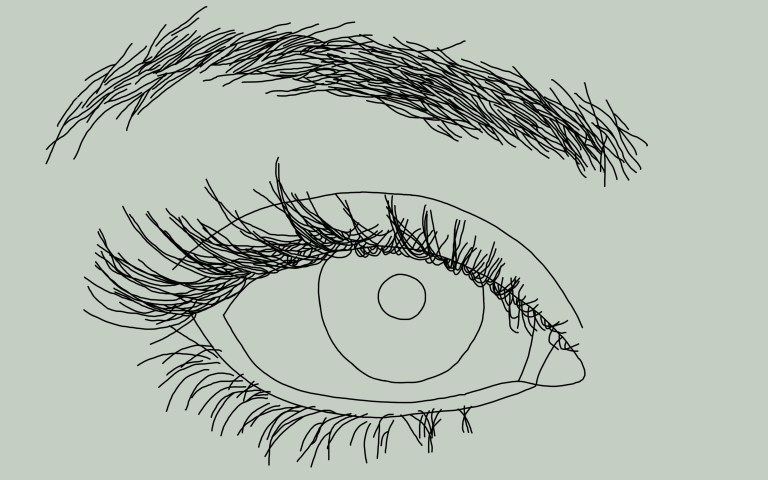
20.Next, erase that shape you drew as a guide for yourself.
Remember, a huge part of drawing is erasing!
Thats why you gotta use a sharp pencil and never a pen.
Talented artists still make mistakes but erasers come in handy even when youve made decisions intentionally.
Never feel guilty about breaking out that eraser.
Its part of the process.
21.Draw the second eye.
Or if youre lazy like me, just go ahead and clone that sucker!
And if you dont love the work, thats okay.
you’ve got the option to always loop back and try.
Youre only going to improve the more that you practice.
22.Color it in.
Remember, there tends to be a lot of shadow between the brow line and the crease line.
This will make your drawing pop out of the page!
23.Work on the rest of the face.
Even though those eyes took a lot of work, youre not finished yet!
You still have to finish the rest of the face so that complete your picture.
double-check you check out other drawing tutorials to learn how to createnoses,lips, andfaces!
That way, your drawing will have a professional, cohesive look.
you’re able to also add other details to your drawings, likerosesoranimals.
24.Show off your finished work.
You shouldnt be embarrassed about showing the world your art.
Let them watch how you improve over time.
Theyre going to love that youve included them in this journey!
25.Last, but certainly not least, practice some more!
Youre never going to draw a perfect eye on your first attempt.
Keep practicing your art.
Dont give up on yourself.
Youre only going to get better and better!
Just remember, youre never going to get it right on the first try.
The most talented artists youve ever seen have had plenty of practice and you need practice, too.
If you keep trying, then eventually, youre going to surprise yourself.
Youre going to turn into a wonderful artist!
